Beauty BuzzHow to Apply Fake Eyelashes Like You’re a Glam Squad Expert


Life & Style’s How To: Beauty Buzz will cover the latest in makeup trends while answering all of your beauty related questions — step by step! Stop by each week for the latest update!
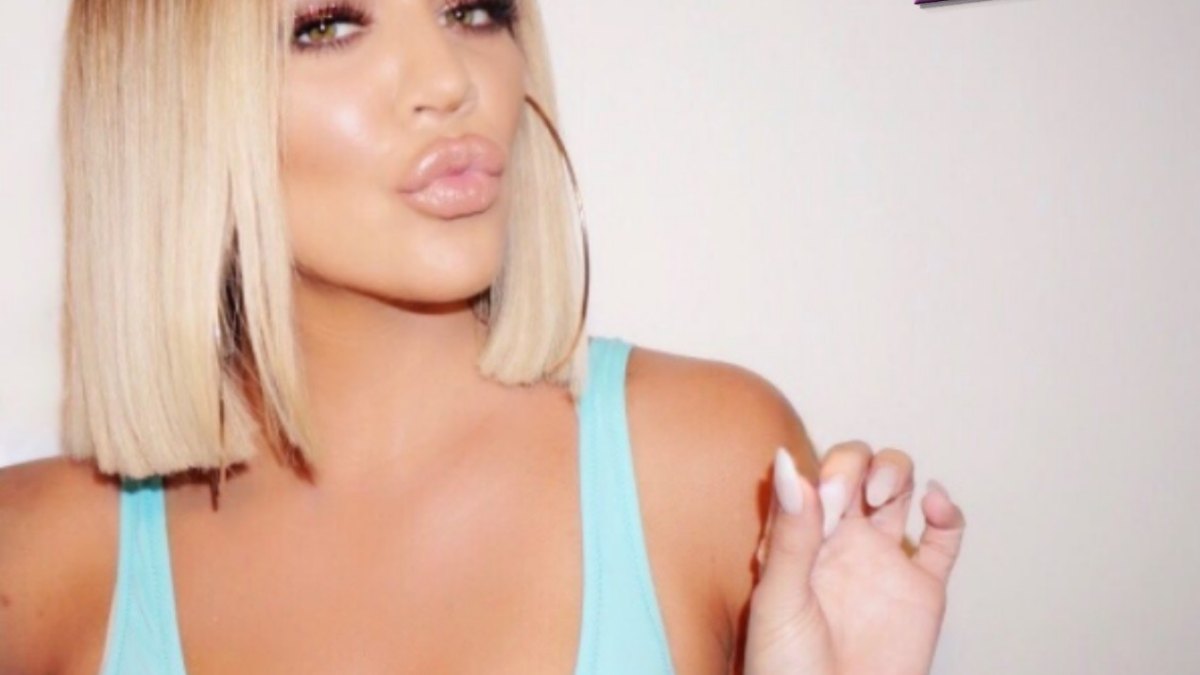
What do Khloe Kardashian, Scheana Marie, and Nicole “Snooki” Polizzi have in common? Besides being reality stars with hefty bank accounts, each of these ladies has eyelashes applied and curled up to the Gods at all times — so much that their lashes have become an iconic staple of their everyday makeup look, leaving them unrecognizable without their falsies.
Becoming a lashes master is not as difficult as it may seem — and this is coming from someone who is no lash-applying queen. Often as it is the case with applying makeup, the tools can make all the difference. In the tutorial below, we used Velour‘s mink lashes, latex-free Lash Couture Strip Lash Adhesive with biotin, and Velour‘s lash applicator.
Want to become a pro at applying fake eyelashes? Keep reading to see our step-by-step lash tutorial.
What You’ll Need
Lashes applicator
Lash glue
Lashes
Eyelash curler
Mascara
Step 1: Curl your (real!) lashes
Curling the lashes is an important prep step in that it will help you acheive a more seamless blend once the falsies are on.

Step 2: Apply eyeliner
You technically don’t have to apply eyeliner but if you’re a novice at applying lashes, eyeliner is your best friend. Just in case you don’t get the lashes exactly on the lash line, a black bit of liner can really help disguise any bare skin of the eyelid peeking through. Check out winged liner tutorial here.

Step 3: Prep the fake lashes
Gently remove the falsies from their container. Be diligent in doing so, grabbing the lashes by the strip (not by the individual lashes themselves), so as to not damage them. Also, toggle the band back and forth gently before doing anything else. This step is crucial in loosening up the lashes, giving them more flexibility, which is crucial to easy application and long-lasting lashes.

Step 4: Measure and cut the lashes
Each eye shape is unique, so you’re going to have to measure the lashes by holding them up to your eye. Are they too long? Cut off the excess from the outer corner and re-measure the lashes against your eye to make sure they’re the ideal length.

Step 5: Apply adhesive
We used black lash glue but of course, glue that dries clear or white also exists. (The thought process behind black lash glue is that any mistakes will just disappear into the liner already put on.) Apply the adhesive to the entire lash band, then let it dry for 30 seconds. At this point, it should feel tacky, which means it’s ready to stick to the lash line.

Step 6: Place those lashes
Using an applicator (like we did) or your finger, start applying the lashes to the inner corner of your eye. Gently pat it down, working your way to the outer corner of the eye. Don’t worry about any lash glue mess — that can always be cleaned up by adding more eyeshadow or liner.

Step 7: Brush the lashes and add mascara
The Velour applicator has a brush on the opposite end, which is what we used to better blend the real lashes into the fake ones. If you don’t have a lash brush, you can also achieve this trick by applying mascara.


Conversation
All comments are subject to our Community Guidelines. Life & Style does not endorse the opinions and views shared by our readers in our comment sections. Our comments section is a place where readers can engage in healthy, productive, lively, and respectful discussions. Offensive language, hate speech, personal attacks, and/or defamatory statements are not permitted. Advertising or spam is also prohibited.